When you create a web site in WebMatrix, you can see a number of files in the bin folder with a .dll extension.
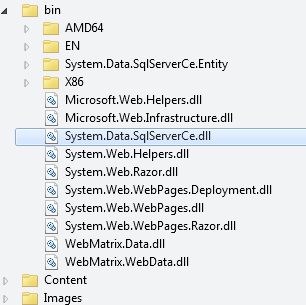
Each of these files started out as a Class Library Project in Visual Studio. When they were compiled, the dll files or 'assemblies' were generated. Each of them contains classes and methods that are logically grouped together. The WebMatrix.Data assembly for example contains the Database class which contains the Query, Execute, QuerySingle etc methods. This article will walk through creating a simple assembly that contains logging functionality, and then shows how to make that available to your web site.
WebMatrix doesn't support the creation of Class Library Projects but Visual Studio Express For Web does, and it is a free download. Once you have downloaded and installed VS Express, you are ready to go.
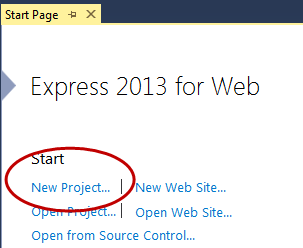
1. Create a new project by clicking New Project on the Start Page or by going to FILE » New Project in the menu.
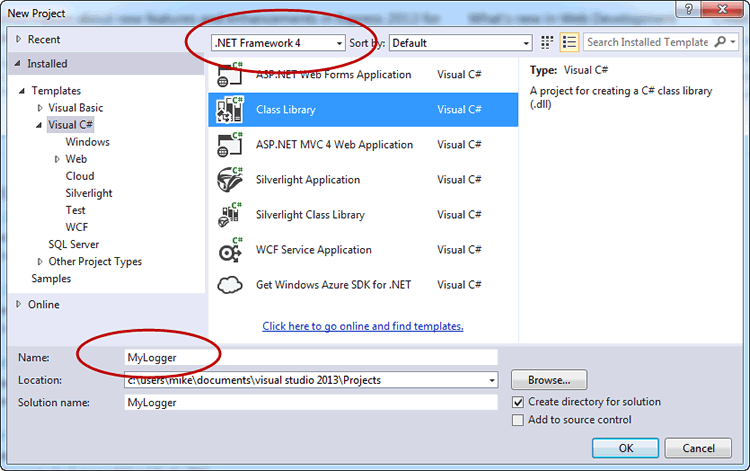
2. Choose Visual C# Class Library and make sure that the target framework is .NET Framework 4 unless you are using Visual Studio to build a Web Pages 3 site, in which case you can use 4.5. Provide a name for the project. This name will become the name of the assembly (although it is possible to change that later). Choose a location to save the project and leave the options to Create directory for solution checked.
3. Delete the Class1.cs file that is generated by default and add a new class file called Logger.cs. Replace the content with the following:
using System;
using System.IO;

namespace MyLogger
{
    public static class Logger
    {
        private static LogLevel _loglevel;
        private static bool _initialized;
        private static string _filePath;

        public static void Initialize(LogLevel logLevel, string filePath) {
            _loglevel = logLevel;
            _filePath = filePath;
            _initialized = true;
        }

        public static void LogInfo(string log, params object[] args) {
            WriteLog(LogLevel.Info, string.Format(log, args));
        }

        public static void LogWarning(string log, params object[] args) {
            WriteLog(LogLevel.Warning, string.Format(log, args));
        }

        public static void LogError(string log, params object[] args) {
            WriteLog(LogLevel.Error, string.Format(log, args));
        }

        private static void WriteLog(LogLevel level, string log) {
            if (_initialized) {
                if (_loglevel <= level) {
                    var contents = new string[] { log };
                    File.AppendAllLines(_filePath, contents);
                }
            }
        }
    }

    public enum LogLevel
    {
        Info, Warning, Error
    }
}
Logger is now a public static class. It has 3 private fields: _loglevel is an enumeration value (decalred at the end of the file); _initialized is a boolean; and _filePath takes a string. It has 4 public methods. Initialize is intended to be called when the application that uses the logger starts up. The application will use it to pass the loigger two pieces of information: a LogLevel, which represents the level at which the logger should log items and a filepath, which represents the location of the file that the logger should write to. If you are in development mode, you may want to log all sorts of information that helps debugging etc, so you set the LogLevel at LogLevel.Info. However, in production, you may only want to log exceptions, in which case you would set the level to LogLevel.Error. The other 3 public methods all call an internal method that logs messages to the file. This is a very simplistic implementation and is not fit for production use, but serves to illustrate the point of the article.
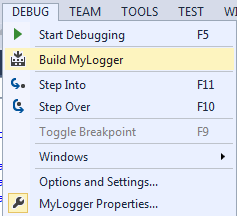
4. Having completed the library, change the dropdown in the top menu from Debug to Release and build it. You can do this by pressing Ctrl+Shift+B or by choosing Build MyLogger in the DEBUG menu
5. Open your web site in Visual Studio Express. You do this by going to FILE » Open Web Site... or by pressing Shift+Alt+O.
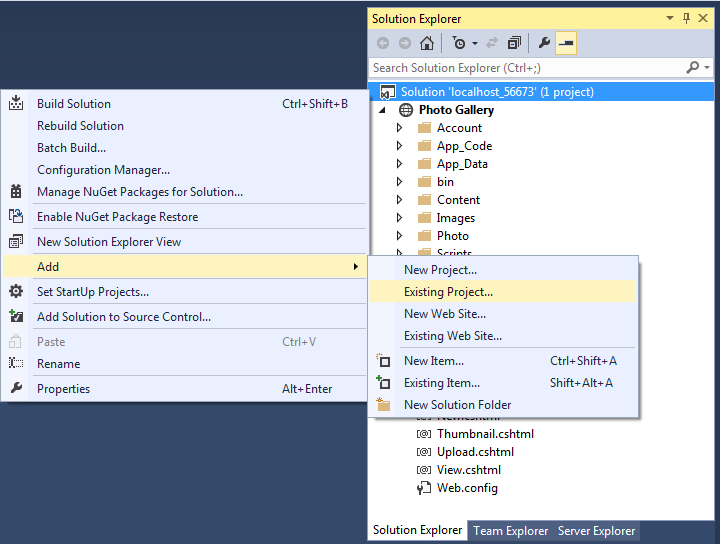
6. Right click on the Solution in Solution Explorer. The solution will most likely be named "localhost_xxxxx" where xxxxx is the IIS Express port number that WebMatrix assigned to your site when it was first created. Choose Add » Existing Project
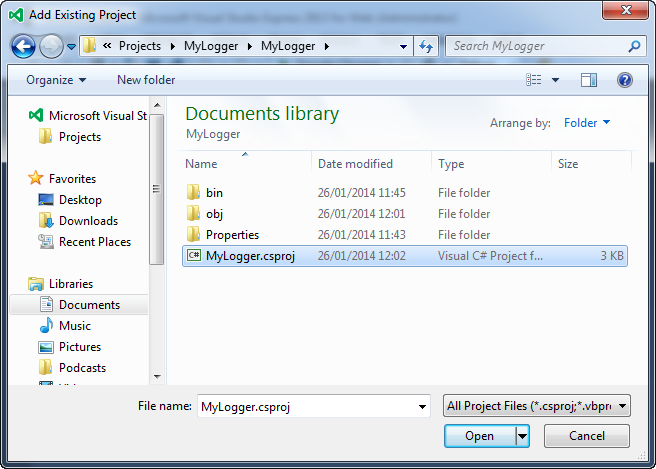
7. Navigate to the location of your logger project and locate the .csproj file within it, then select it.
This step has added the logger project to the overall solution, but now you need to make it available to the web site project.
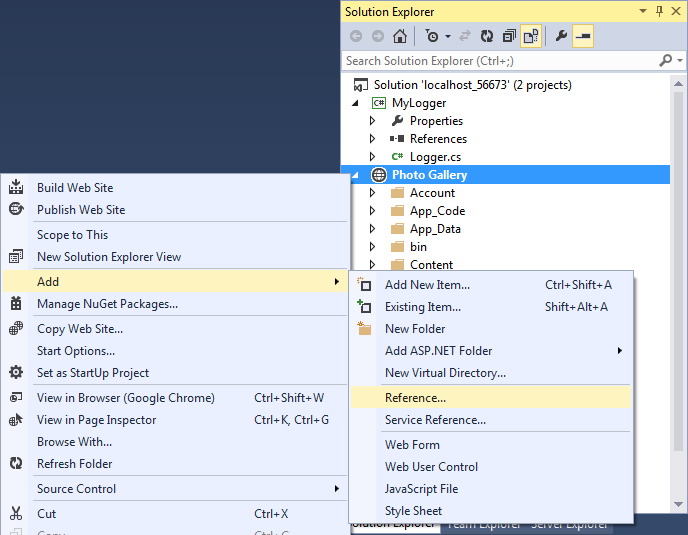
8. Right click on the web site project in Solution Explorer and choose Add » Reference.
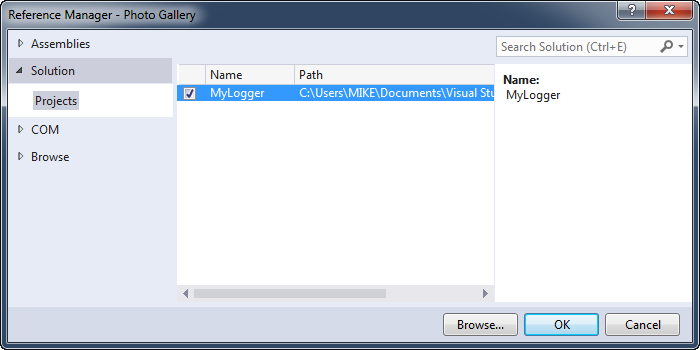
9. Click the Solutions tab on the left hand side of the dialogue and then check MyLogger, which should be the only project listed for the current solution. Then click OK.
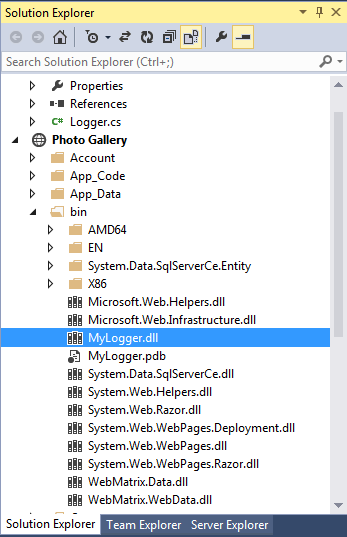
10. Build the entire solution by pressing Ctrl+Shift+B. The check then bin folder of the web site. MyLogger.dll should appear there together with a .pdb file.
Now you can make use of your library within your site. I have used the Photo Gallery template for this example because it has an existing _AppStart.cshtml file which is the ideal place to initialise the logger. You need to add a using directive to make the contents of the logger namespace available to the code in the file, but you should notice as you type that Visual Studio Express can 'see' your library:

@using MyLogger;
@{
    Logger.Initialize(LogLevel.Info, Context.Server.MapPath("~/App_Data/log.txt"));
    WebSecurity.InitializeDatabaseConnection("PhotoGallery", "UserProfiles", "UserId", "Email", true);
}
And now, so long as you add the using directive to the top of the page, you can use your logger anywhere in the site. Here's how it can be added to the Upload.cshtml page to help keep watch over what's going on in the app:
var gallery = db.QuerySingle("SELECT * FROM Galleries WHERE Id = @0", galleryId);
if (gallery == null) {
    Logger.LogWarning("Gallery not found for user {0} using galleryId {1}", WebSecurity.CurrentUserId, galleryId);
    Response.SetStatus(HttpStatusCode.NotFound);
    return;
}
If you make any changes to the logger component, those changes will be available to all applications where it has been included the next time you rebuild the solution. No more copying and pasting of code.
