This tutorial series will teach you the basics of building an ASP.NET MVC 5 Web application using Visual Studio 2013 and Visual Basic. A Visual Studio Express For Web project with VB source code is available to accompany this series which you can download.
The tutorial series comprises 11 sections in total. They cover the basics of web development using the ASP.NET MVC framework and the Entity Framework for data access. They are intended to be followed sequentially as each section builds on the knowledge imparted in the previous sections. The navigation path through the series is as follows:
- Getting Started
- Adding a Controller
- Adding a View
- Adding a Model
- Creating a Connection String and Working with SQL Server LocalDB
- Accessing Your Model's Data from a Controller
- Examining the Edit Methods and Edit View
- Adding Search
- Adding a New Field
- Adding Validation
- Examining the Details and Delete Methods
1. Getting Started
Start by installing and running Visual Studio Express 2013 for Web or Visual Studio 2013.
Visual Studio is an IDE, or integrated development environment. Just like you use Microsoft Word to write documents, you'll use an IDE to create applications. In Visual Studio there's a toolbar along the top showing various options available to you. There's also a menu that provides another way to perform tasks in the IDE. (For example, instead of selecting New Project from the Start page, you can use the menu and select File > New Project.)
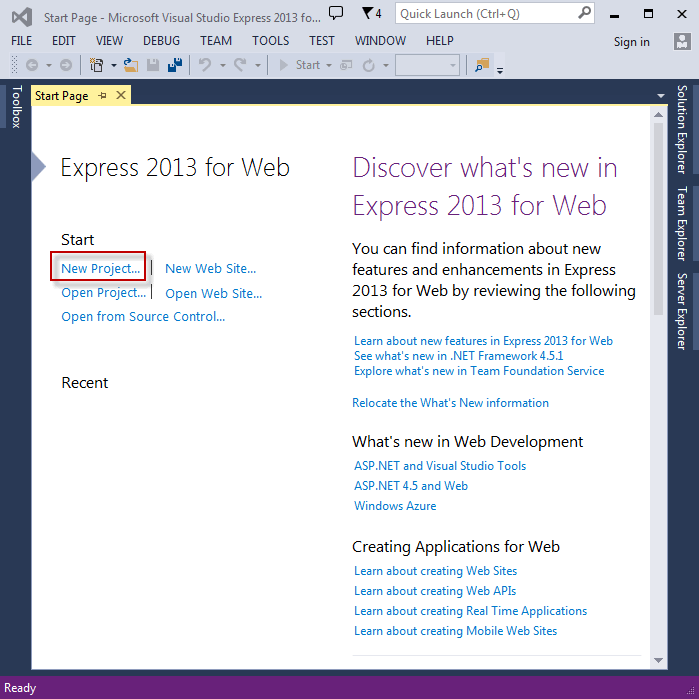
Creating Your First Application
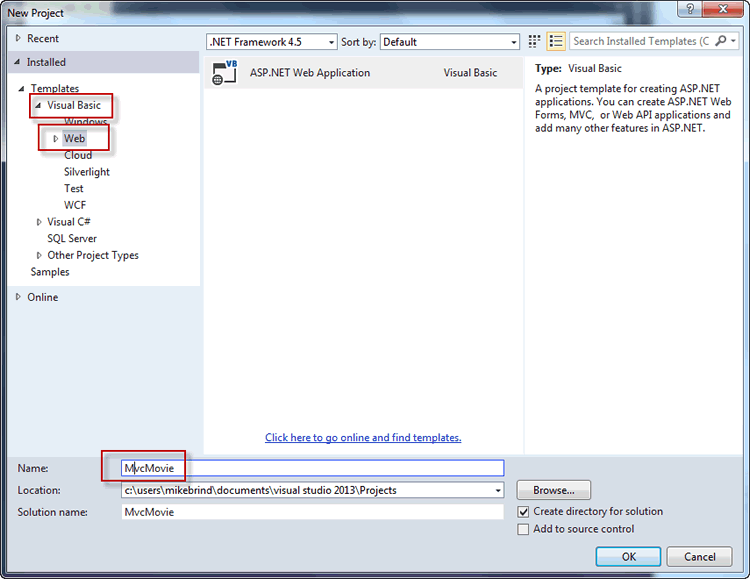
Click New Project, then select Visual Basic on the left, then Web and then select ASP.NET Web Application. Name your project "MvcMovie" and then click OK.
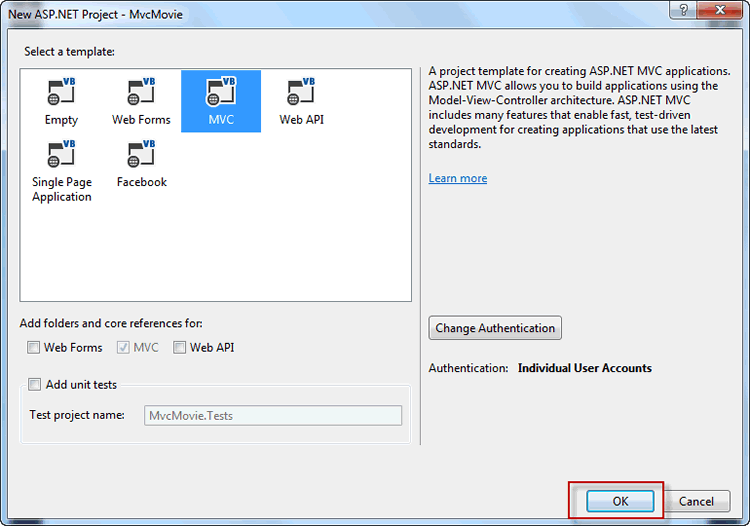
In the New ASP.NET Project dialog, click MVC and then click OK.
Visual Studio uses a default template for the ASP.NET MVC project you just created, so you have a working application right now without doing anything! This is a simple "Hello World!" project, and it's a good place to start your application.
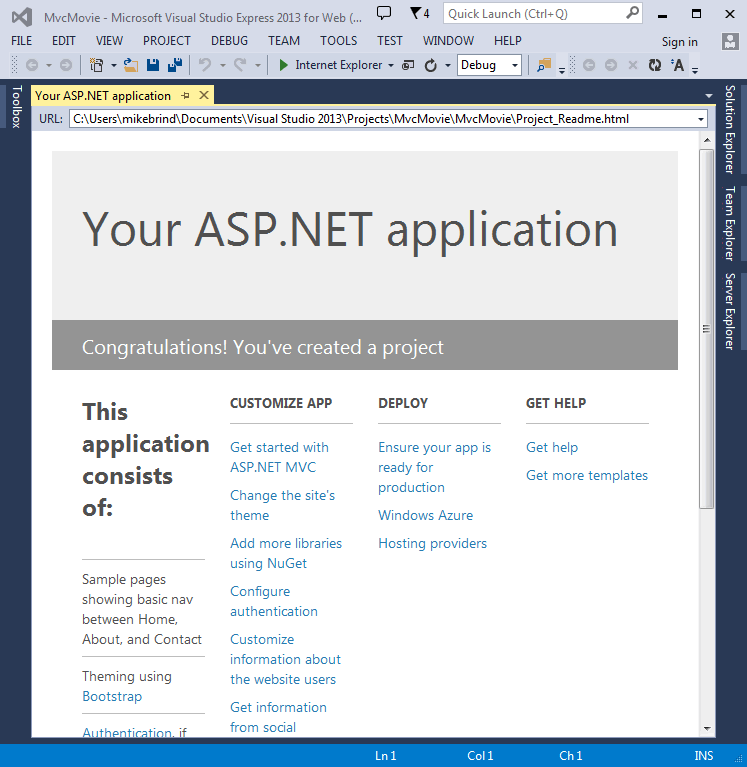
Click F5 to start debugging. F5 causes Visual Studio to start IIS Express and run your web application. Visual Studio then launches a browser and opens the application's home page. Notice that the address bar of the browser says localhost:port# and not something like example.com. That's because localhost always points to your own local computer, which in this case is running the application you just built. When Visual Studio runs a web project, a random port is used for the web server. In the image below, the port number is 1804. When you run the application, you'll probably see a different port number.
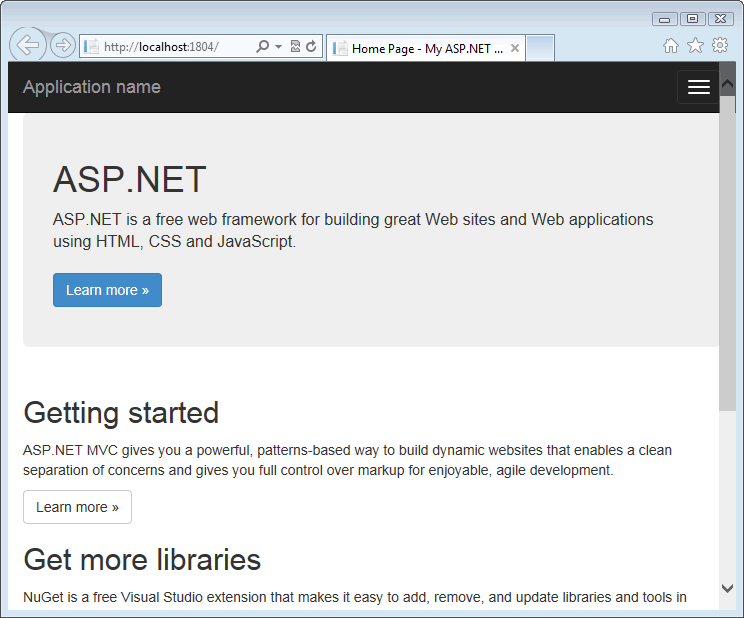
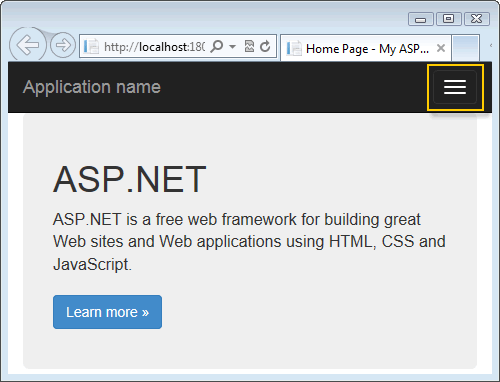
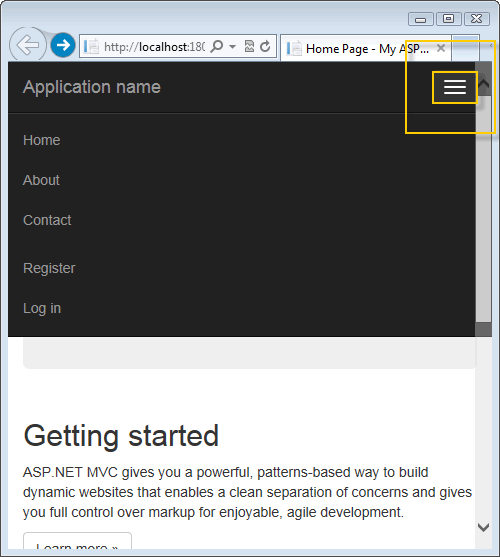
Right out of the box this default template gives you Home, Contact and About pages. The image above doesn't show the Home, About and Contact links. Depending on the size of your browser window, you might need to click the navigation icon to see these links.
The application also provides support to register and log in. The next step is to change how this application works and learn a little bit about ASP.NET MVC. In the next section, you will look at adding the 'C' part of MVC - a Controller
